Friday, October 18, 2013

Happiness is the Key


Happiness is Key

Tube of choice, I used Pinuptoons and Amy Matthews
Scrap kit of choice, I used Happiness is Free by Designs by Sarah
Font of choice, I used RamblerScript JF
Graphic Program of choice, I use PSP 9

This tutorial assumes you have working knowledge of paint shop pro, 
All of my tutorials are my own creation and any similarity
with any other tutorial is purely coincidential.
Please do not copy my tutorials to anyplace, please link back to my blog!

Open a new image 750x750 and flood fill white,
I Like to have room to work, this is your choice,
My tuts are written using this size image

open sb_pmt_happiness-is-free-pp14 c/p as a new layer, apply a
mask of choice, I used chas13mask, merge group

now open sb_pmt_happiness-is-free-frame 3 c/p as a new
layer, now open sb_pmt_happiness-is-free-frame 2 c/p as a
new layer, mirror and resize by 85% grab your magic wand
click inside the frame and expand by 9 invert, now open
sb_pmt_happiness-is-free-pp12 c/p as a new layer below the
frame and hit invert, select none, open sb_pmt_happiness-is-free-string2
c/p as a new layer resize by 85%, bring to the top, now lets
open sb_pmt_happiness-is-free-bow 5 c/p as a new layer
arrange with the string. Now open sb_pmt_happiness-is-free-flower 1
c/p as a new layer above the black frame, arrange to your liking
open sb_pmt_happiness-is-free-flower 5 c/p as a new layer
with the other flower, resize by 72% place below the yellow
flower, open sb_pmt_happiness-is-free-beads c/p as a new
layer right above the frame layer, resize by 50% duplicate,
mirror and flip, open sb_pmt_happiness-is-free-leaf c/p as
a new layer below the flower layers and resize by 58%
and then rotate to the left by 15% now duplicate and
rotate to the right by 115% Now lets open
sb_pmt_happiness-is-free-heart key c/p as a new layer
place below the ribbon layer and resize by 41% now mirror
and rotate to the 60% duplicate and bring to the top, erase
enough to make it look "Looped" on the bow. now add a
dropshadow and tube of choice, hide the white background
layer and merge visible.

I always resize my finished tag BEFORE adding my copyright info,
it makes this seem clearer, add your name and copy right
information and Save the way you prefer to save tags,

I hope you enjoyed this tut
smiles
christy
Ü


October


October

Tube of choice, I used Elias Chatzoudis and Caron Vinson
Scrap kit of choice, I used Boo-tiful by Pimp'd Desingz 
Font of choice, I used Babylonica
Graphic Program of choice, I use PSP 9

This tutorial assumes you have working knowledge of paint shop pro, 
All of my tutorials are my own creation and any similarity
with any other tutorial is purely coincidential.
Please do not copy my tutorials to anyplace, please link back to my blog!

Open a new image 750x750 and flood fill white,
I Like to have room to work, this is your choice,
My tuts are written using this size image

open pd13-pp-07 c/p as a new layer and apply a mask of choice
I used Blackwidow Mask, any good round mask will work.

now open pd13-frame-04 c/p as a new layer,resize by 60% rotate
to the left by 12% now open pd13-frame-02 c/p as a new layer,
rotate to the left by 12% then click inside opening and expand by
9 invert, open pd13-pp-02 c/p as a new layer hit delete, leave
selected and then open pd13-pp-10 c/p as a new layer below the
other paper, hit delete, now go to the striped paper and change the
blend mode to soft light (or play around until you find something you like)
now open pd13-print-01 c/p as a new layer, arrange to right above
the mask layer, resize by 130% duplicate and place one near the
top of the mask and one near the bottom, merge the two together
now select the mask layer, using magic wand click OUTSIDE the
mask layer and invert feather by 45% now invert and hit delete
on the print layer (until you are satisfied with the results) now
change the blend mode to hard light and turn down the opacity
to about 28%. Now open pd13-lightening c/p as a new layer
under the frame layer (erase what is outside the frame)
Change the blend mode to screen mode on this layer.
open pd13-leaf-02 c/p as a new layer, resize by 48% arrange
right above the star layer, I duplicated, flipped mirrored and
rotated this about 4 times, filling in the bottom
edge and right of the frame, do the same with pd13-leaf-01
now open pd13-ribbon-03 c/p as a new layer, arrange
to your liking, open pd13-ribbon-02 c/p as a new layer below
the other ribbon, open pd13-pumpkin-01 c/p as a new layer
resize by 48% now open pd13-flower-02 c/p as a new layer
right above the leaves layers, open pd13-flower-03 c/p as
a new layer, place right above the other flower layer,
now open pd13-button-01 c/p as a new layer right above
the flower layers, now add a dropshadow and tube or tubes
of choice (or a picture of choice) hide the white background
layer and merge visible.

I always resize my finished tag BEFORE adding my copyright info,
it makes this seem clearer, add your name and copy right
information and Save the way you prefer to save tags,

I hope you enjoyed this tut
smiles
christy
Ü


A Witches Night


A Witches Night

Tube of choice, I used TooshToosh
Scrap kit of choice, I used Witch Me by Pimp'd Designz
Font of choice, I used Spinstee
Graphic Program of choice, I use PSP 9

This tutorial assumes you have working knowledge of paint shop pro, 
All of my tutorials are my own creation and any similarity
with any other tutorial is purely coincidential.
Please do not copy my tutorials to anyplace, please link back to my blog!

Open a new image 750x750 and flood fill white,
I Like to have room to work, this is your choice,
My tuts are written using this size image

open pd12-pp-02 c/p as a new layer and apply a mask of choice
I used AlexadraMask001-CM

now open pd12-window c/p as a new layer, arrange to your liking
open pd12-frame-01 c/p as a new layer below the window
rotate to the left by 90% and resize by 85% now open pd12-frame-03
c/p as a new layer and rotate left by 9 grab your magic wand and click
inside the frame opening, expand by 9 and invert, open pd12-pp-08
c/p as a new layer below the frame and hit delete, select none.
open pd12-leaves c/p as a new layer, arrange below the heart frame
and paper layer, resize by 85% I duplicated and flipped and then mirrored
mine I then duplicated again and rotated to the right by 18%, now open
pd12-flower-01 c/p as a new layer arrange right above the leaves
layer and resize by 80%, open pd12-flower-03 c/p as a new layer
below the other flower layer, open pd12-flower-02 c/p as a new layer
below the other flowers, now open pd12-beads c/p as a new layer
arrange right above the flowers layers, open pd12-ribbon-01 c/p
as a new layer, bring to the top and rotate to the left by 7% open
pd12-cat and c/p as a new layer arrange to your liking, I resized
mine by and placed it right above the window layer, now add
a dropshadow and tube of choice, hide the white background layer and
merge visible.

I always resize my finished tag BEFORE adding my copyright info,
it makes this seem clearer, add your name and copy right
information and Save the way you prefer to save tags,

I hope you enjoyed this tut
smiles
christy
Ü


Zombie Grrrrl


Zombie Grrrrl

Tube of choice, I used Amy Matthews and Pinuptoons
Scrap kit of choice, I used Zombie Grrrl by Pimp'd Designz
Font of choice, I used Thriller
Graphic Program of choice, I use PSP 9

This tutorial assumes you have working knowledge of paint shop pro, 
All of my tutorials are my own creation and any similarity
with any other tutorial is purely coincidential.
Please do not copy my tutorials to anyplace, please link back to my blog!

Open a new image 750x750 and flood fill white,
I Like to have room to work, this is your choice,
My tuts are written using this size image.

open pd-pp-02 c/p as a new layer and apply a mask of choice,
I used InsatiableDreams_mask486 I cleaned up a bit around
the mask using my lasso tool and a feather of about 24

now open pd-moon and c/p as a new layer, arrange to your
liking, resize by 80%, now open pd-frame-03 resize by 80%
grab your magic wand and click inside the opening, expand
by 9 and invert, open pd-pp-10 c/p as a new layer below
the frame and hit delete select none. open pd-tree and c/p
as a new layer arrange right above the moon layer, resize
by 65% and mirror place in front of the moon, now open
pd-ribbon-02 c/p as a new layer, flip and mirror, now open
pd-ribbon-03 c/p as a new layer, resize by 75% two times
open pd-print-01 c/p as a new layer arrange right above
the frame layer, now open pd-flower-02 c/p as a new layer
and resize by 75% arrange below the ribbon layer now open
pd-flower-03 c/p as a new layer, I colorized mine by changing
the hue and saturation to 0-0 then used the manual color
correction tool to match the paper background I used in
the frame, now add a dropshadow of choice, I tried to
match the one on the black and white ribbon, and a tube
of choice, hide the white background layer and merge visible.

I always resize my finished tag BEFORE adding my copyright info,
it makes this seem clearer, add your name and copy right
information and Save the way you prefer to save tags,

I hope you enjoyed this tut
smiles
christy
Ü


Friday, October 11, 2013

October 31st


October 31st

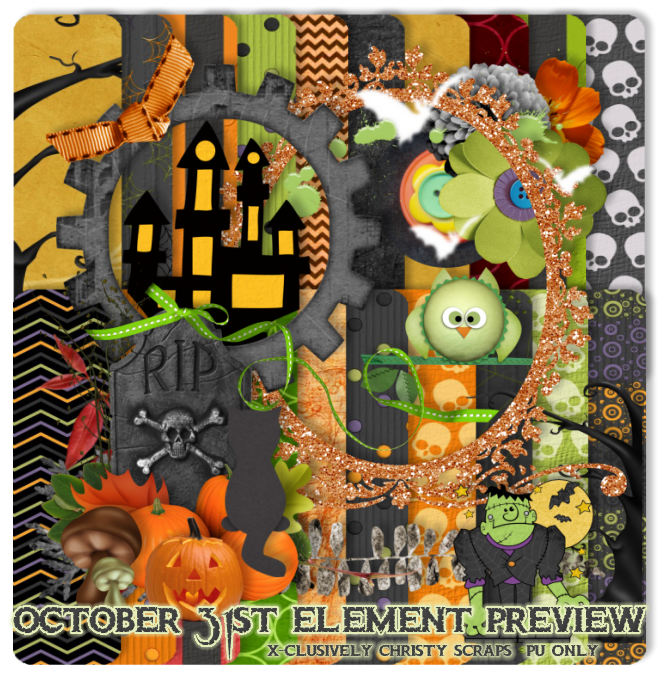
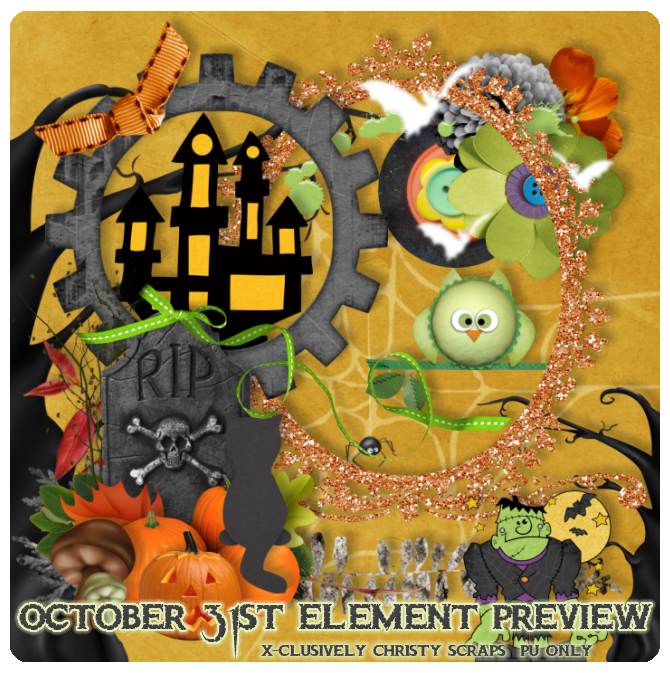
One more Halloween kit for the year, this one
has a mix of all kinds of spooky elements
to use both real and some cutesy ones too,
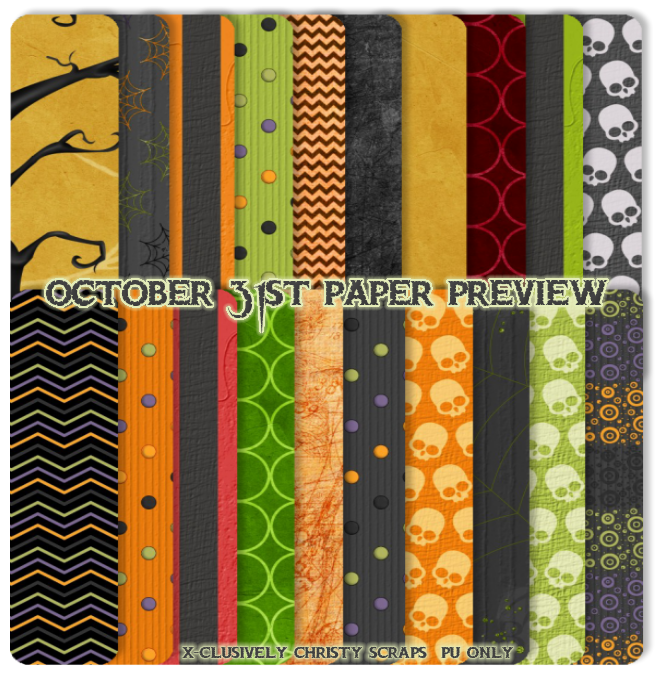
There are 20 papers to choose from to use as well.

I do hope you all like
creating your tags and scrap pages
with it
christy


as always my Full size kits are $2.00
and my Taggers size kits are $1.50

Purchase October31st Full size kit below

Purchase October31st Taggers size kit below

Wednesday, October 9, 2013

Spider Woman


Spider Woman

Tube of choice, I used Asli Yeniay Kizilay and Elias Chatzoudis
Scrap kit of choice, I used Lost Soul by Pimp'd Designz
Font of choice, I used Zombie Holocaust
Graphic Program of choice, I use PSP 9

This tutorial assumes you have working knowledge of paint shop pro, 
All of my tutorials are my own creation and any similarity
with any other tutorial is purely coincidential.
Please do not copy my tutorials to anyplace, please link back to my blog!

Open a new image 750x750 and flood fill white,
I Like to have room to work, this is your choice,
My tuts are written using this size image

open pd-pp-06 c/p as a new layer and apply a mask of choice
I used Nicole-CMCgrunge3

open pd-fence and c/p as a new layer, resize by 90% now open
pd-frame-01 c/p as a new layer, resize by 80% now open pd-frame-04
c/p as a new layer, rotate to the right by 90%
grab your magic wand and click inside the frame and expand by 9
invert and open pd-pp-09 c/p as a new layer below the frame
and hit delete. select none. open pd-barb-wire and c/p as a new
layer, rotate to the right and place along the edge of the frame
I moved mine in just a bit so you can see the barbs'. Now open
pd-mesh-01 c/p as a new layer, place this right above the fence
layer, open pd-mesh-02 c/p as a new layer place with the other
mesh layer, open pd-flower-02 c/p as a new layer, place right above
the mesh layers, I duplicated mine and brought this one to the top,
resize by 65% now open pd-flower-01 c/p as a new layer and
resize by 65% place below the black flower, now open pd-spider-web
c/p as a new layer right above the black frame layer, now open pd-staple
c/p as a new layer above the barb wire layer, rotate to the right by
18%, open pd-ribbon-01 c/p as a new layer below the staple layer
now open pd-spider c/p as a new layer and resize by 65% two times
I duplicated and mirrored mine, now add a tube of choice and a drop
shadow of choice, Hide the white background layer and merge visible

I always resize my finished tag BEFORE adding my copyright info,
it makes this seem clearer, add your name and copy right
information and Save the way you prefer to save tags,

I hope you enjoyed this tut
smiles
christy
Ü


Wednesday, October 2, 2013

Haunted


Haunted

Tube of choice, I used Zindy S.D. Nielsen and Caron Vinson
Scrap kit of choice, I used Haunting
(an October 2013 FB freebie by Word Art World)
Font of choice, I used Carpenter Script
Graphic Program of choice, I use PSP 9

This tutorial assumes you have working knowledge of paint shop pro, 
All of my tutorials are my own creation and any similarity
with any other tutorial is purely coincidential.
Please do not copy my tutorials to anyplace, please link back to my blog!

Open a new image 750x750 and flood fill white,
I Like to have room to work, this is your choice,
My tuts are written using this size image

open waw_haunting_paper10 resize by 750x750
and c/p as a new layer, apply a mask of choice
I used Vix_BigMask001 merge group

Now open waw_haunting_blackstringframe and c/p
as a new layer, resize by 30% now grab your
magic wand and click inside the frame opening
expand by 7 and invert open waw_haunting_paper3
resize by 750x750 and c/p as a new layer below
the frame hit delete and select none, now open
waw_haunting_tree silhouette c/p as a new layer
place above the mask layer and resize by 18%
now open waw_haunting_leaves c/p as a new
layer and resize by 21% and then mirror now
rotate to the left by 30%  paste again and resize
the same now rotate to the right by 46% now
open waw_haunting_blackricrac c/p as a new layer
rotate to the right by 90% and then resize by
21% open waw_haunting_black flower2 c/p as
a new layer and resize by 21% I duplicated 2 times
and placed one below the frame and fill layer,
now open waw_haunting_flower orange c/p as
a new layer resize by 23% I duplicated it and
placed one below the frame and fill layer as well
now open waw_haunting_black gingham bow
c/p as a new layer and resize by 42% now
mirror and then rotate to the left by 90%
open waw_haunting_white button c/p as a
new layer and resize by 26% and rotate to
the left by 12. Open waw_haunting_boo c/p
as a new layer and resize by 18% arrange to
right above the ric rac layer, now add a drop
shadow and a tube of choice, hide the white
background layer and merge visible.

I always resize my finished tag BEFORE adding my copyright info,
it makes this seem clearer, add your name and copy right
information and Save the way you prefer to save tags,

I hope you enjoyed this tut
smiles
christy
Ü